Saturday, August 10, 2013

Smile - Mixed media layout


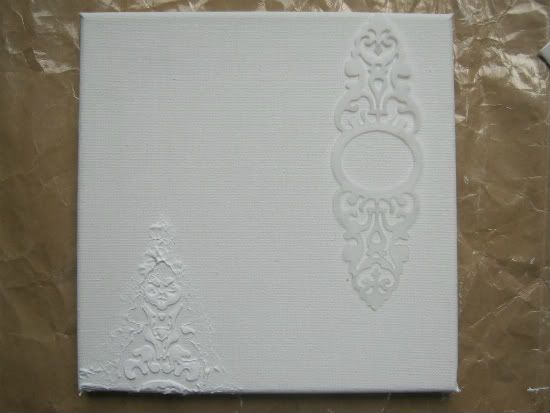
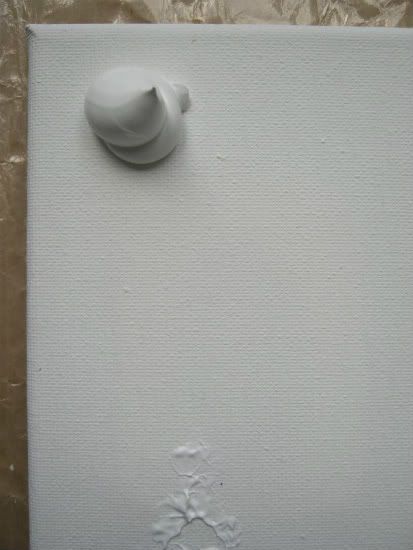
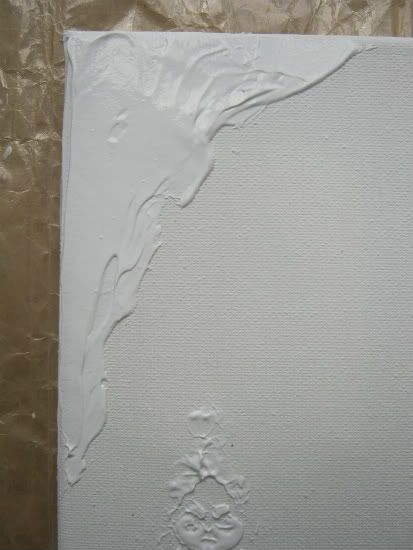
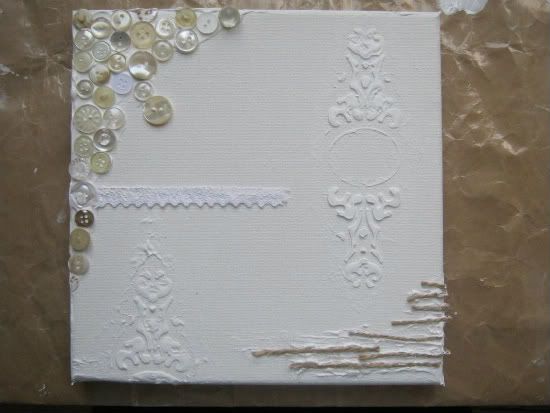
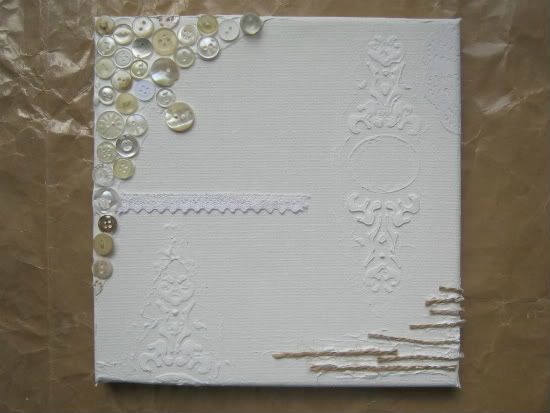
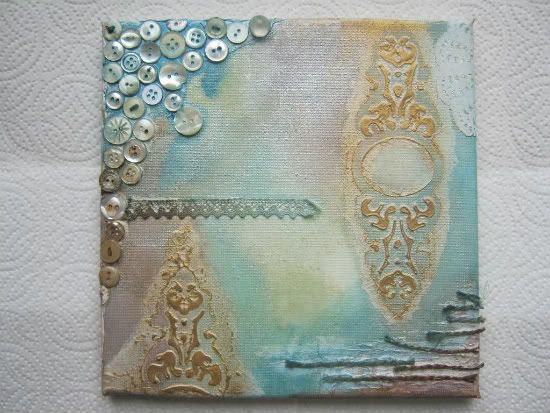
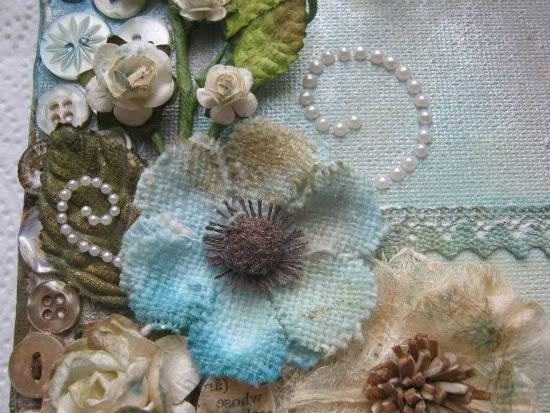
Well I have finally done another mixed media layout, I just played around with everything yesterday and I just love the colours and how this page turned out, Cannot wait to play! again. I misted the right hand corner and splattered paint onto it.


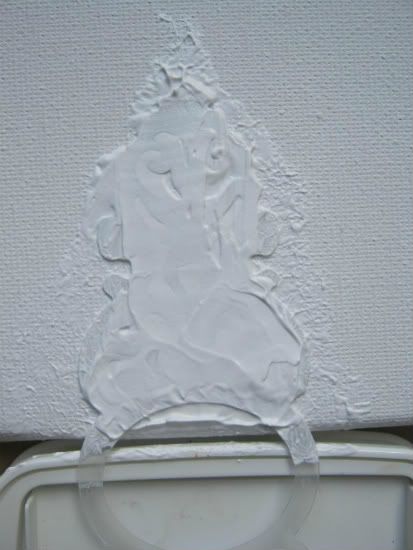
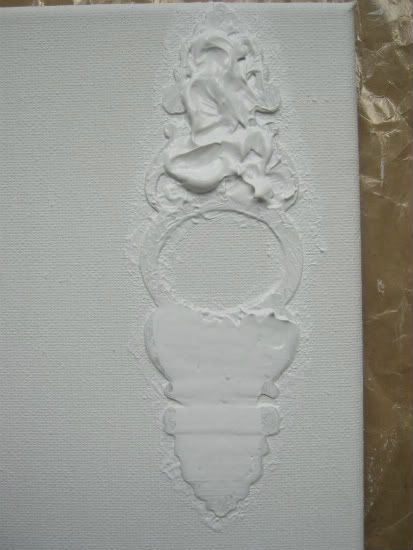
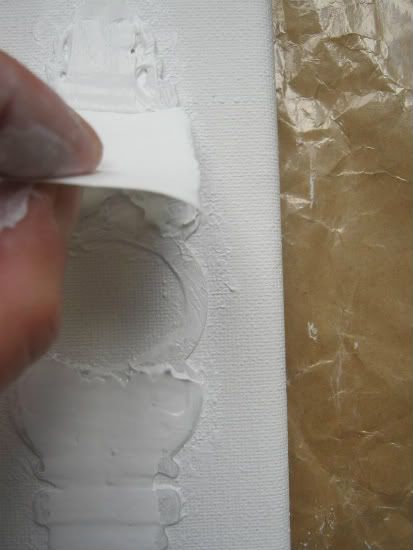
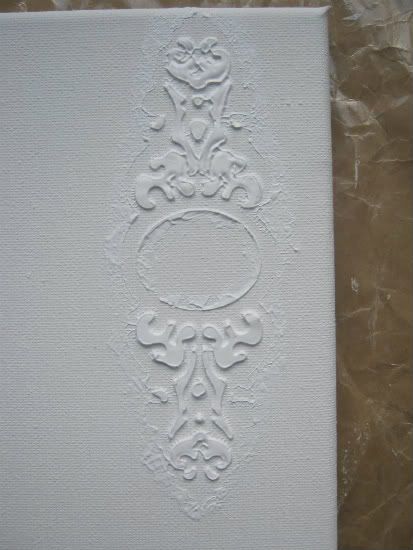
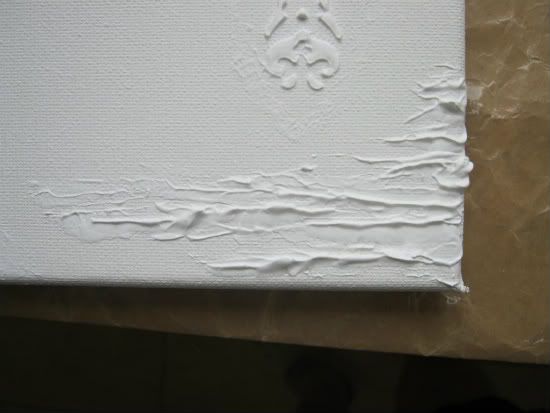
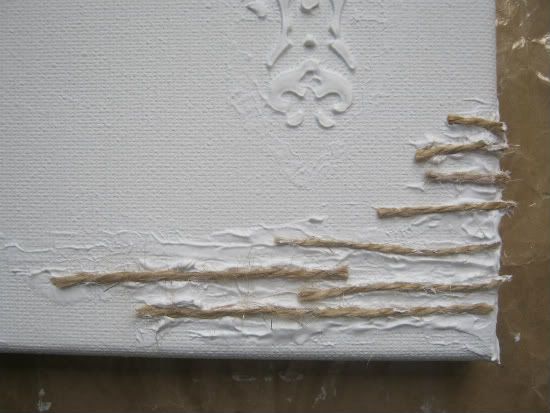
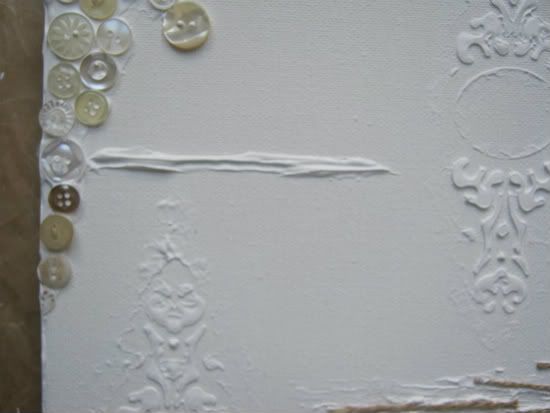
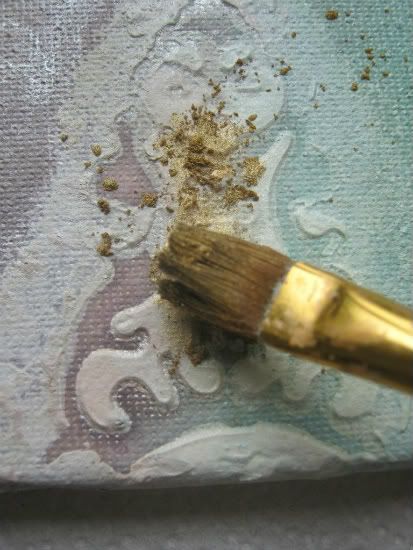
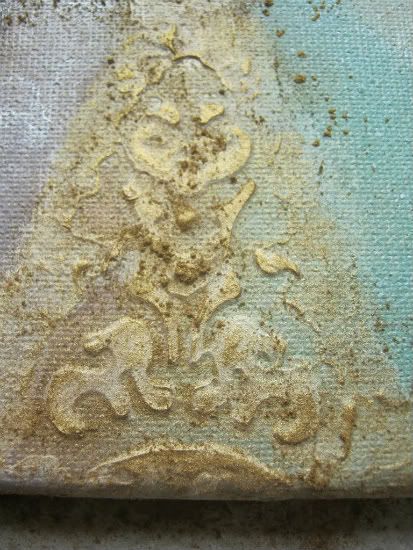
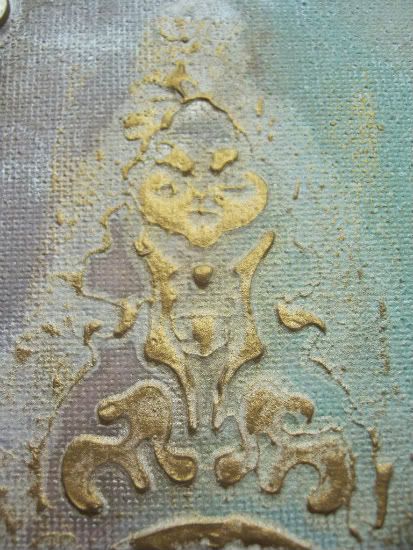
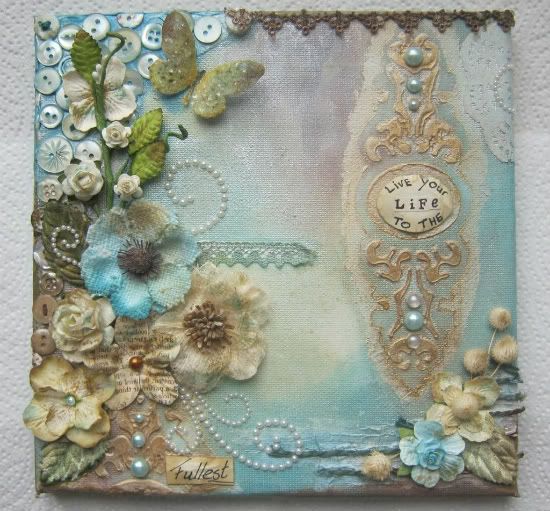
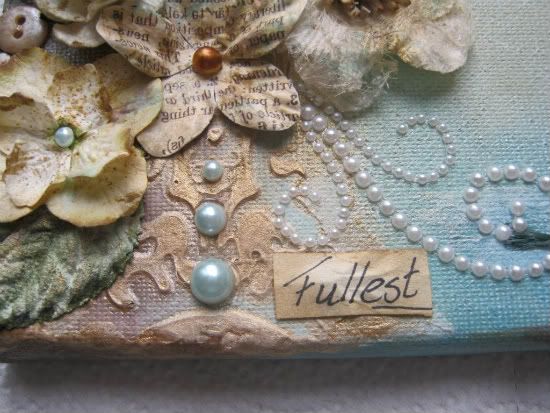
A close up of the corrugated cardboard I used, I applied Gesso here and just layers of paints and gesso. I stencilled the bricks with texture paste and painted over it and applies gesso afterwards to lighten the paint. The big flower with the gold middle I made myself. 

Sunday, July 28, 2013

Intersting ideas...

Well its been awhile since I was on my blog, been fairly busy with invitations and planning my scrapbook class. Found some interesting ideas on the web today.

Have to try out these ideas : Herewith the web pages

http://www.sweethappylife.com/2012/activities/preschool-activities/painting-with-watercolors-glue-and-salt/

http://inkpaintandme.blogspot.com/

Friday, July 19, 2013

Dad Class - 20th July 2013

Layout done using the Scrap Collections range of paper - Indigo Range. The sunburst was inspired by a layout done by Michelle Van Wyk for Scrap Collections. This page resembles the moments of my little boys life with his father.


Friday, July 12, 2013

My 1st attempt at doing a Mixed Media Canvas

Buttons adhered with Gesso, The flower i did with texture paste, mists and paints.

Close up of finished project - I will definitely be doing more, loved it.


I used crazy cracks on the netting, stencils the bricks with texture paste, adhered the lace, ruler with gesso


I used texture paste to create a corner for my project, used perfect pearls, inks on afterwards


My bird cage was head embossed. I adhered the doily with gesso and misted and painted over it.


Full view of finished project

Tuesday, July 9, 2013

Gesso and texture Paste

Good morning everyone, Today is the day that I learn to use Gesso and texture paste on Mixed media canvas!

This is an awesome site, gives lovely instructions too :
http://www.swirlydoos.com/sd_plugins/forum/forum_viewtopic.php?119579

Have a lovely day all.

product list: 
canvas ( I used an 8 x 8 ) 
mask ( I used tattered angels one)
Gesso - brushes/spatula - buttons - twine - lace - paper doily (3.5 inch) mists - distress stains or inks - clear embossing ink - perfect pearls (the color you like) flowers - embellies -heat tool - hot glue gun.


First you start with a blanc canvas. This one is 8x8


Take a Tattered Angels mask, a big blob of Gesso and a brush.


Lay, only the half part of your mask at the bottom left. I placed a Stazon pad underneath the other half to stabilize the mask.


First dab, with your brush, around the outlines of your mask, to let the Gesso fade a little into the canvas and make it a little smoother. Then add a thick layer of Gesso to the inner part, I used my spatula for it. Carefully lift your mask of your canvas. Clean your mask right away.


Place your mask to the top right of the canvas, as shown in the picture.


Again, follow the same instructions as above. Starting with dabbing around the mask with your brush. I did this in 2 pieces. First I started with the bottom part of the mask, then worked my way up.


I equalized the Gesso by wiping slightly over it with a scrap of cardstock.


Carefully lift off your mask. 

***We use the Gesso in 2 different ways , so far. As a molding paste by stenciling it, and as a resist medium, which will be more obvious later on in this tutorial.***


Get a nice big blob of Gesso onto your canvas in the left top corner.


Spread it out. I doesn’t have to be perfectly flat, cause we NEED some texture!!!


Get out some buttons, and press them in the still wet Gesso, till you have something like this:


Cool huh?!!!!


Get some twine out and cut it in various length.


Get a little blob of Gesso onto your craftsheet and a scrap of cardstock.


Get your scrap of cardstock, dab into the blob of Gesso that is on your craftsheet and dab it onto your canvas, in the right bottom corner.


Something like this.


Press your pieces of twine in the, still wet, Gesso. Make sure the twine really touches the Gesso. Or it will fell of later.


Get a piece of lace.


Add a medium thick stripe of Gesso onto your canvas. I used my spatula to bring it on.


Carefully bring your lace on, by giving it a little pressure with your fingers. Work it to the Gesso.

***As you can see… we can also use Gesso as an (textured) adhesive. ***


Take a regular 3.5 inch doily and cut it in half.


Paint one side with Gesso . Heat dry your doily.


Paint the other side with Gesso. Get it a nice and even coat, and place it (while still wet) at the top right corner. Let it overlap the corner a bit.


Get a damp piece of foam and press (carefully) your doily to your canvas. Fold to the sides of the canvas as well and again, press carefully with your damp piece of foam, the doily onto your canvas. Till it looks something like this:


***This will be another part of the resist technique***


Now comes the HARDEST PART............
We have to be patient and Let this dry overnight.


Did everyone sleep well???

Pull out your Mist’s, Distress Stain’s, or Distress inks and your heatgun. 
I worked with a 3 color palette. I used, Bundle Sage-Vintage photo and Broken China. 
Work your colors onto your canvas, until you are happy with the result. Then take a damp cloth and start dabbing over the Gesso parts. You will lift the inks off of it, cause the Gesso resist your inks. How fun is that!!! 


Of course you can leave it this way or you can give it even more interest, and start playing with some perfect pearls, or Shimmer paints. I choose to give the gesso images a layer of perfect pearls.


Take your embossing ink pad and wipe it slightly over the raised areas, then take some perfect pearls, in the color you like, and add it to the inked parts. Work it all over the image. Till you have something like this:


Brush the extra, perfect pearls off. Repeat that same step for the larger image till you are happy with the result.


When you are happy with the way it looks, then you are ready to start embellishing. This can be anything. Stamping, stitching, flowers etc. It totally depends on what YOU WANT!!!!


Here’s my finished canvas. I glued everything down with my hot glue gun.


Here are some close up’s 


I printed and cut out one of Lisa’s butterflies and covered them with diamond dust.


I colored this original white Prima flower with distress stains.


I hope that I brought you some ideas about how to use Gesso.

What a day....

It has been one of those extremely trying days for me. My hubby went back to Lesotho today again (to return in two weeks time) and the whole world seems to have gone wrong today.

Sometimes I do not even know how I manager to get through the days, I feel like I need a 48 hour day. Having a little 29month old boy is not easy either, nothing can get done.

When children are sick they must let us moms's book into a resort with them and rest, cos we get no rest and all they want is there Mom's :)

Wish I could just sit and scrap all day, have so many ideas and things i want to do but just never get the chance t do any of them.

I have so many competitions I want to enter and challenges I want to join,,,,,, but no time.

I think they must officially make a scrapbooking holiday.... he he

Well let me check on my son and food.... catch up later

Thursday, June 27, 2013

Blog update

Anybody know any websites with free templates for blogs, I like this one but there is just something missing or maybe it is me that is missing something... ha ha

Well good nite all my fellow crafters out there :


Hello All...

Well I have finally created a blog, it is not the best one that you could find, but I think with time I will get there. This is all very exciting to me and I would like to find out more about blogging and "blog hopping" in the creative industry. I still have to fine tweak everything....phew lots to do. Any help will be appreciated. How do I add my facebook link etc and other gadgets. Chat later......